Life in Kafunjo: Recipes
At the Project, porridge is always cooked for breakfast. Usually, this is Posho porridge, however, they try to cook millet porridge during millet season instead as it is a much healthier option for the children. Millet seasons start in May and December. While they try hard, they cannot always afford to substitute for millet porridge because it is very expensive. For lunches and dinners, they usually cook some kind of combination between Posho, beans, vegetables, and/or Matooke (bananas). If they can afford rice and spaghetti pasta, these would be included as well.
Most Common Dishes at the Project:
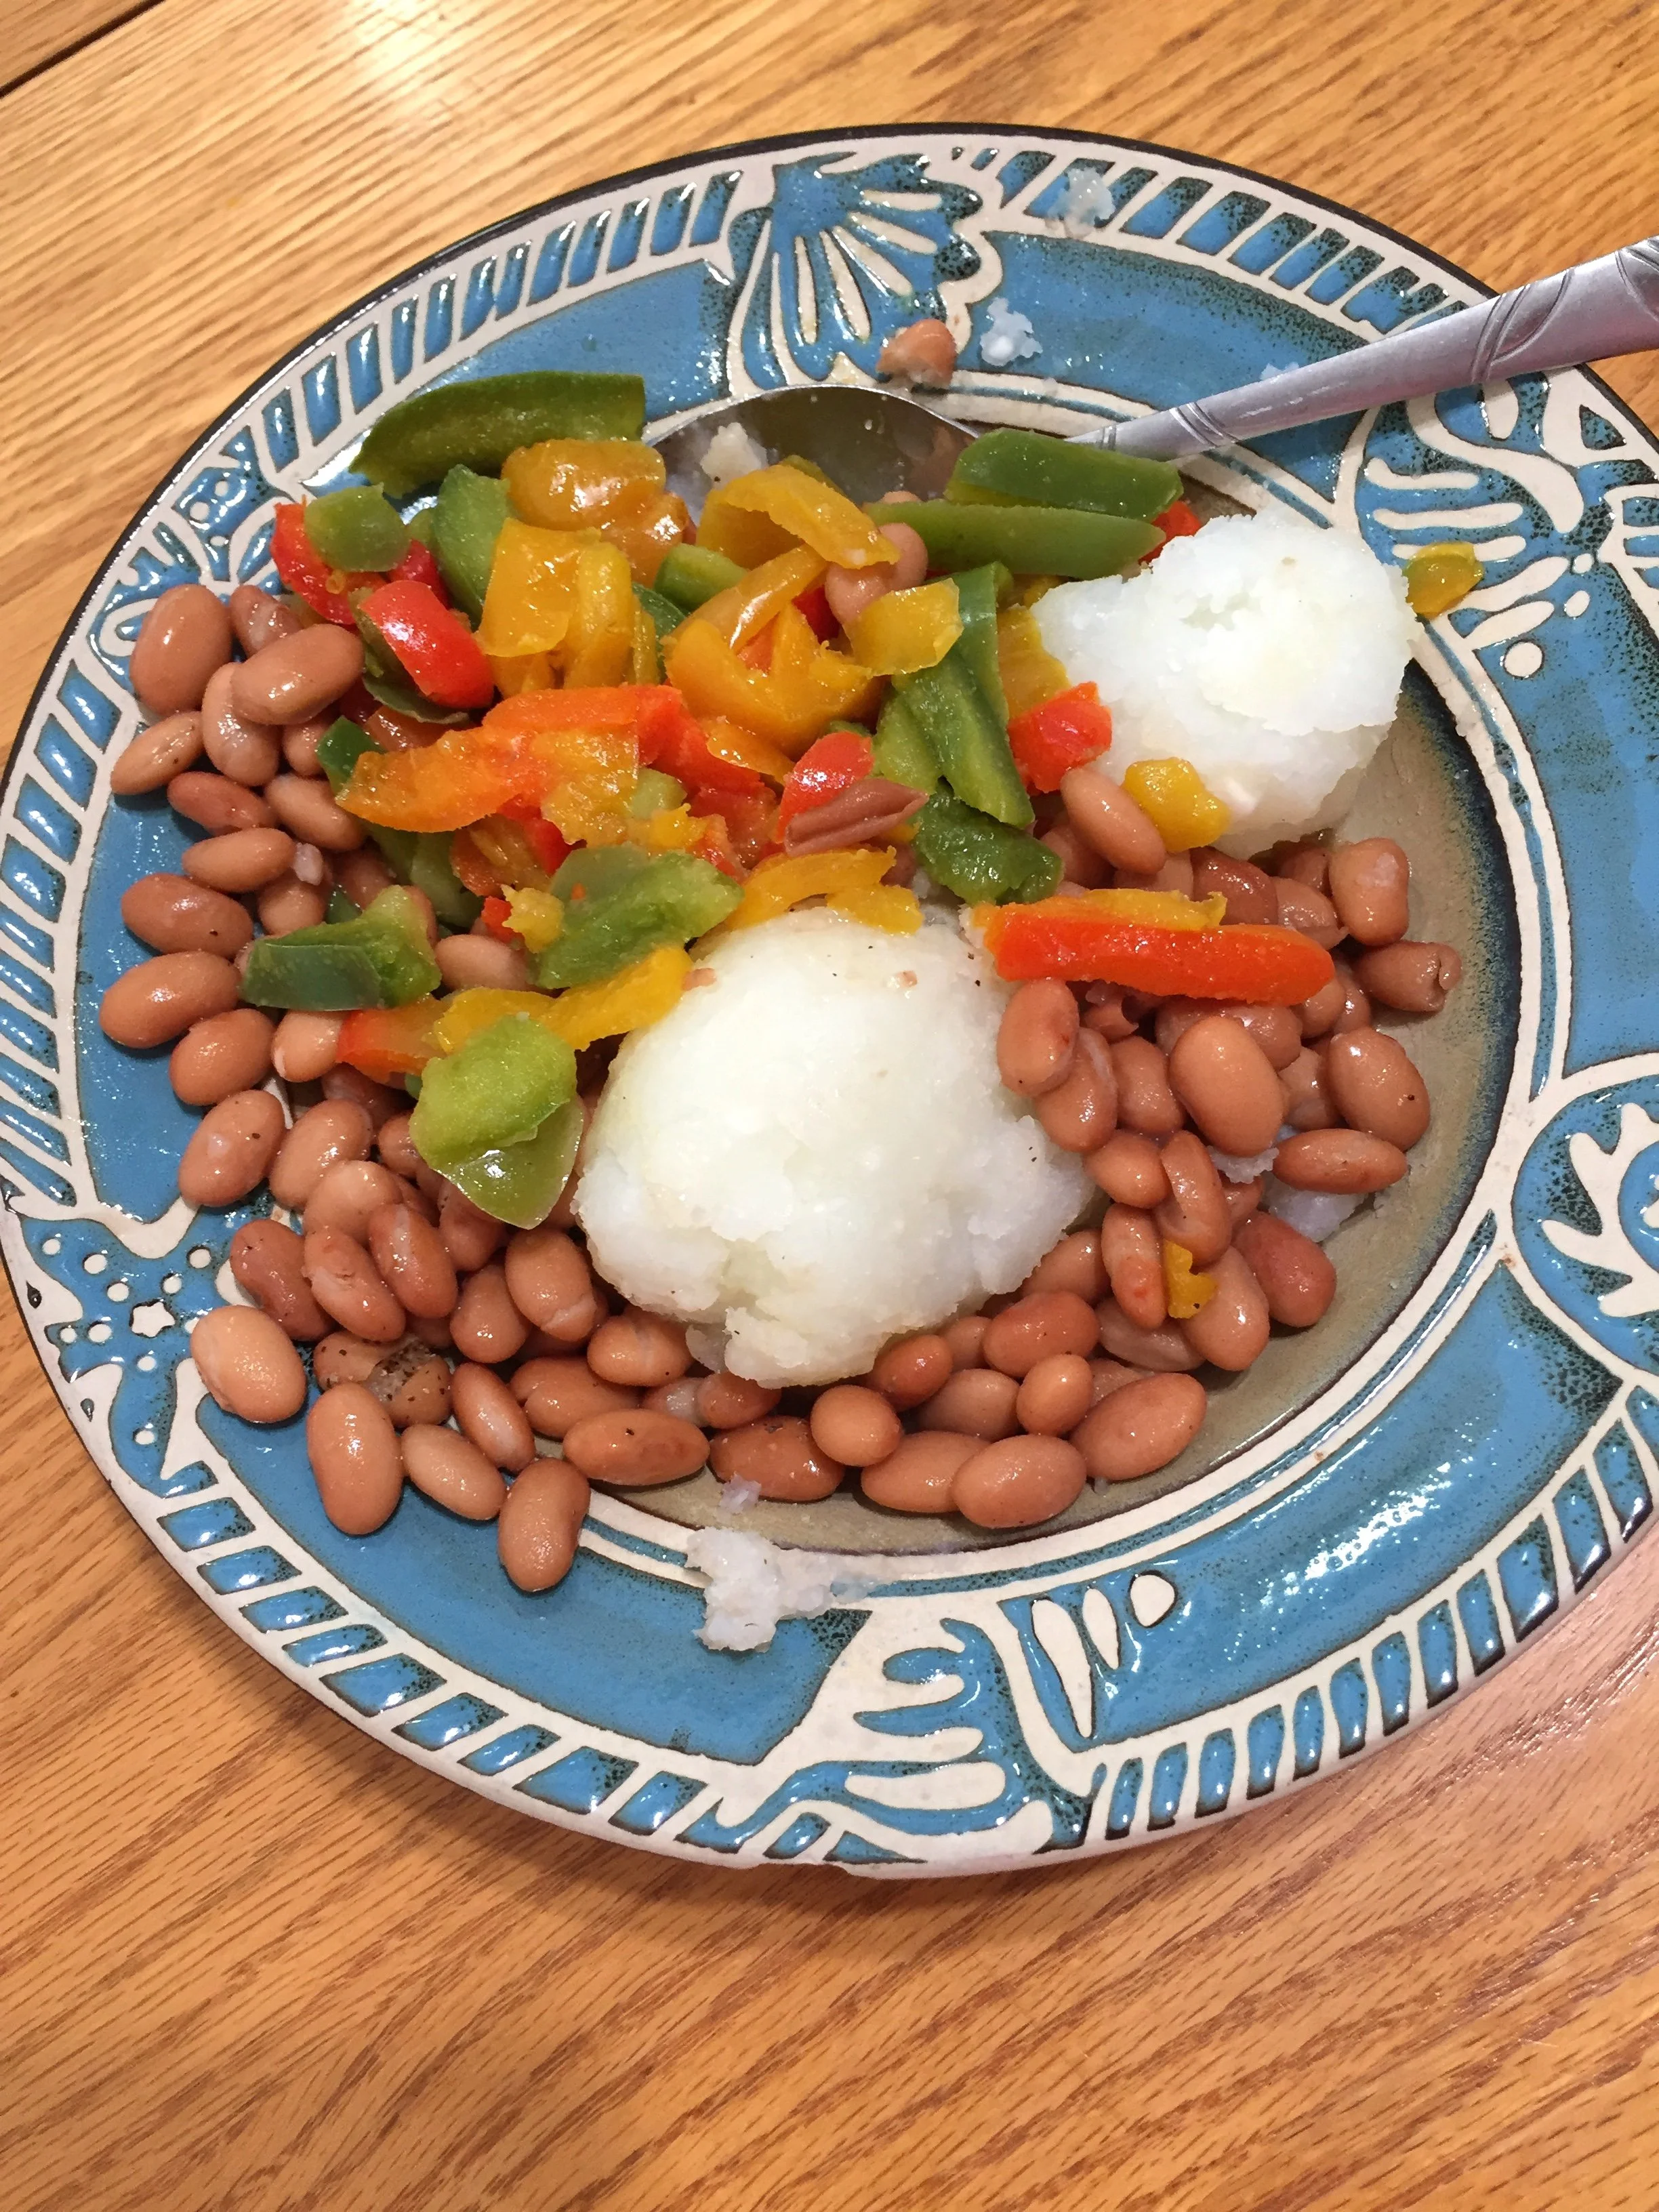
Posho and Beans: This is the most commonly eaten meal at the Project and it is served with sauteed vegetables when they have them. The most common vegetables to eat with this meal are spinach, eggplants, tomatoes, onions, and green peppers.
Katongo: This meal is Matooke served with beans and vegetables (usually onions and tomatoes). Occasionally, when they have potatoes, they will add them to this dish as well.
*Because they are expensive, the only seasonings the Project purchases are salt and Royco (a beef flavoring). They add Royco to beans and cooked vegetables. The main reason they purchase salt is because it helps water boil faster and saves money on firewood.
**When possible, they also try to have ground peanuts on hand which are mixed with water to make a thick peanut sauce. This sauce is usually eaten with Matooke, millet, or cassava. See below for a photo of ground peanuts.
Posho Porridge
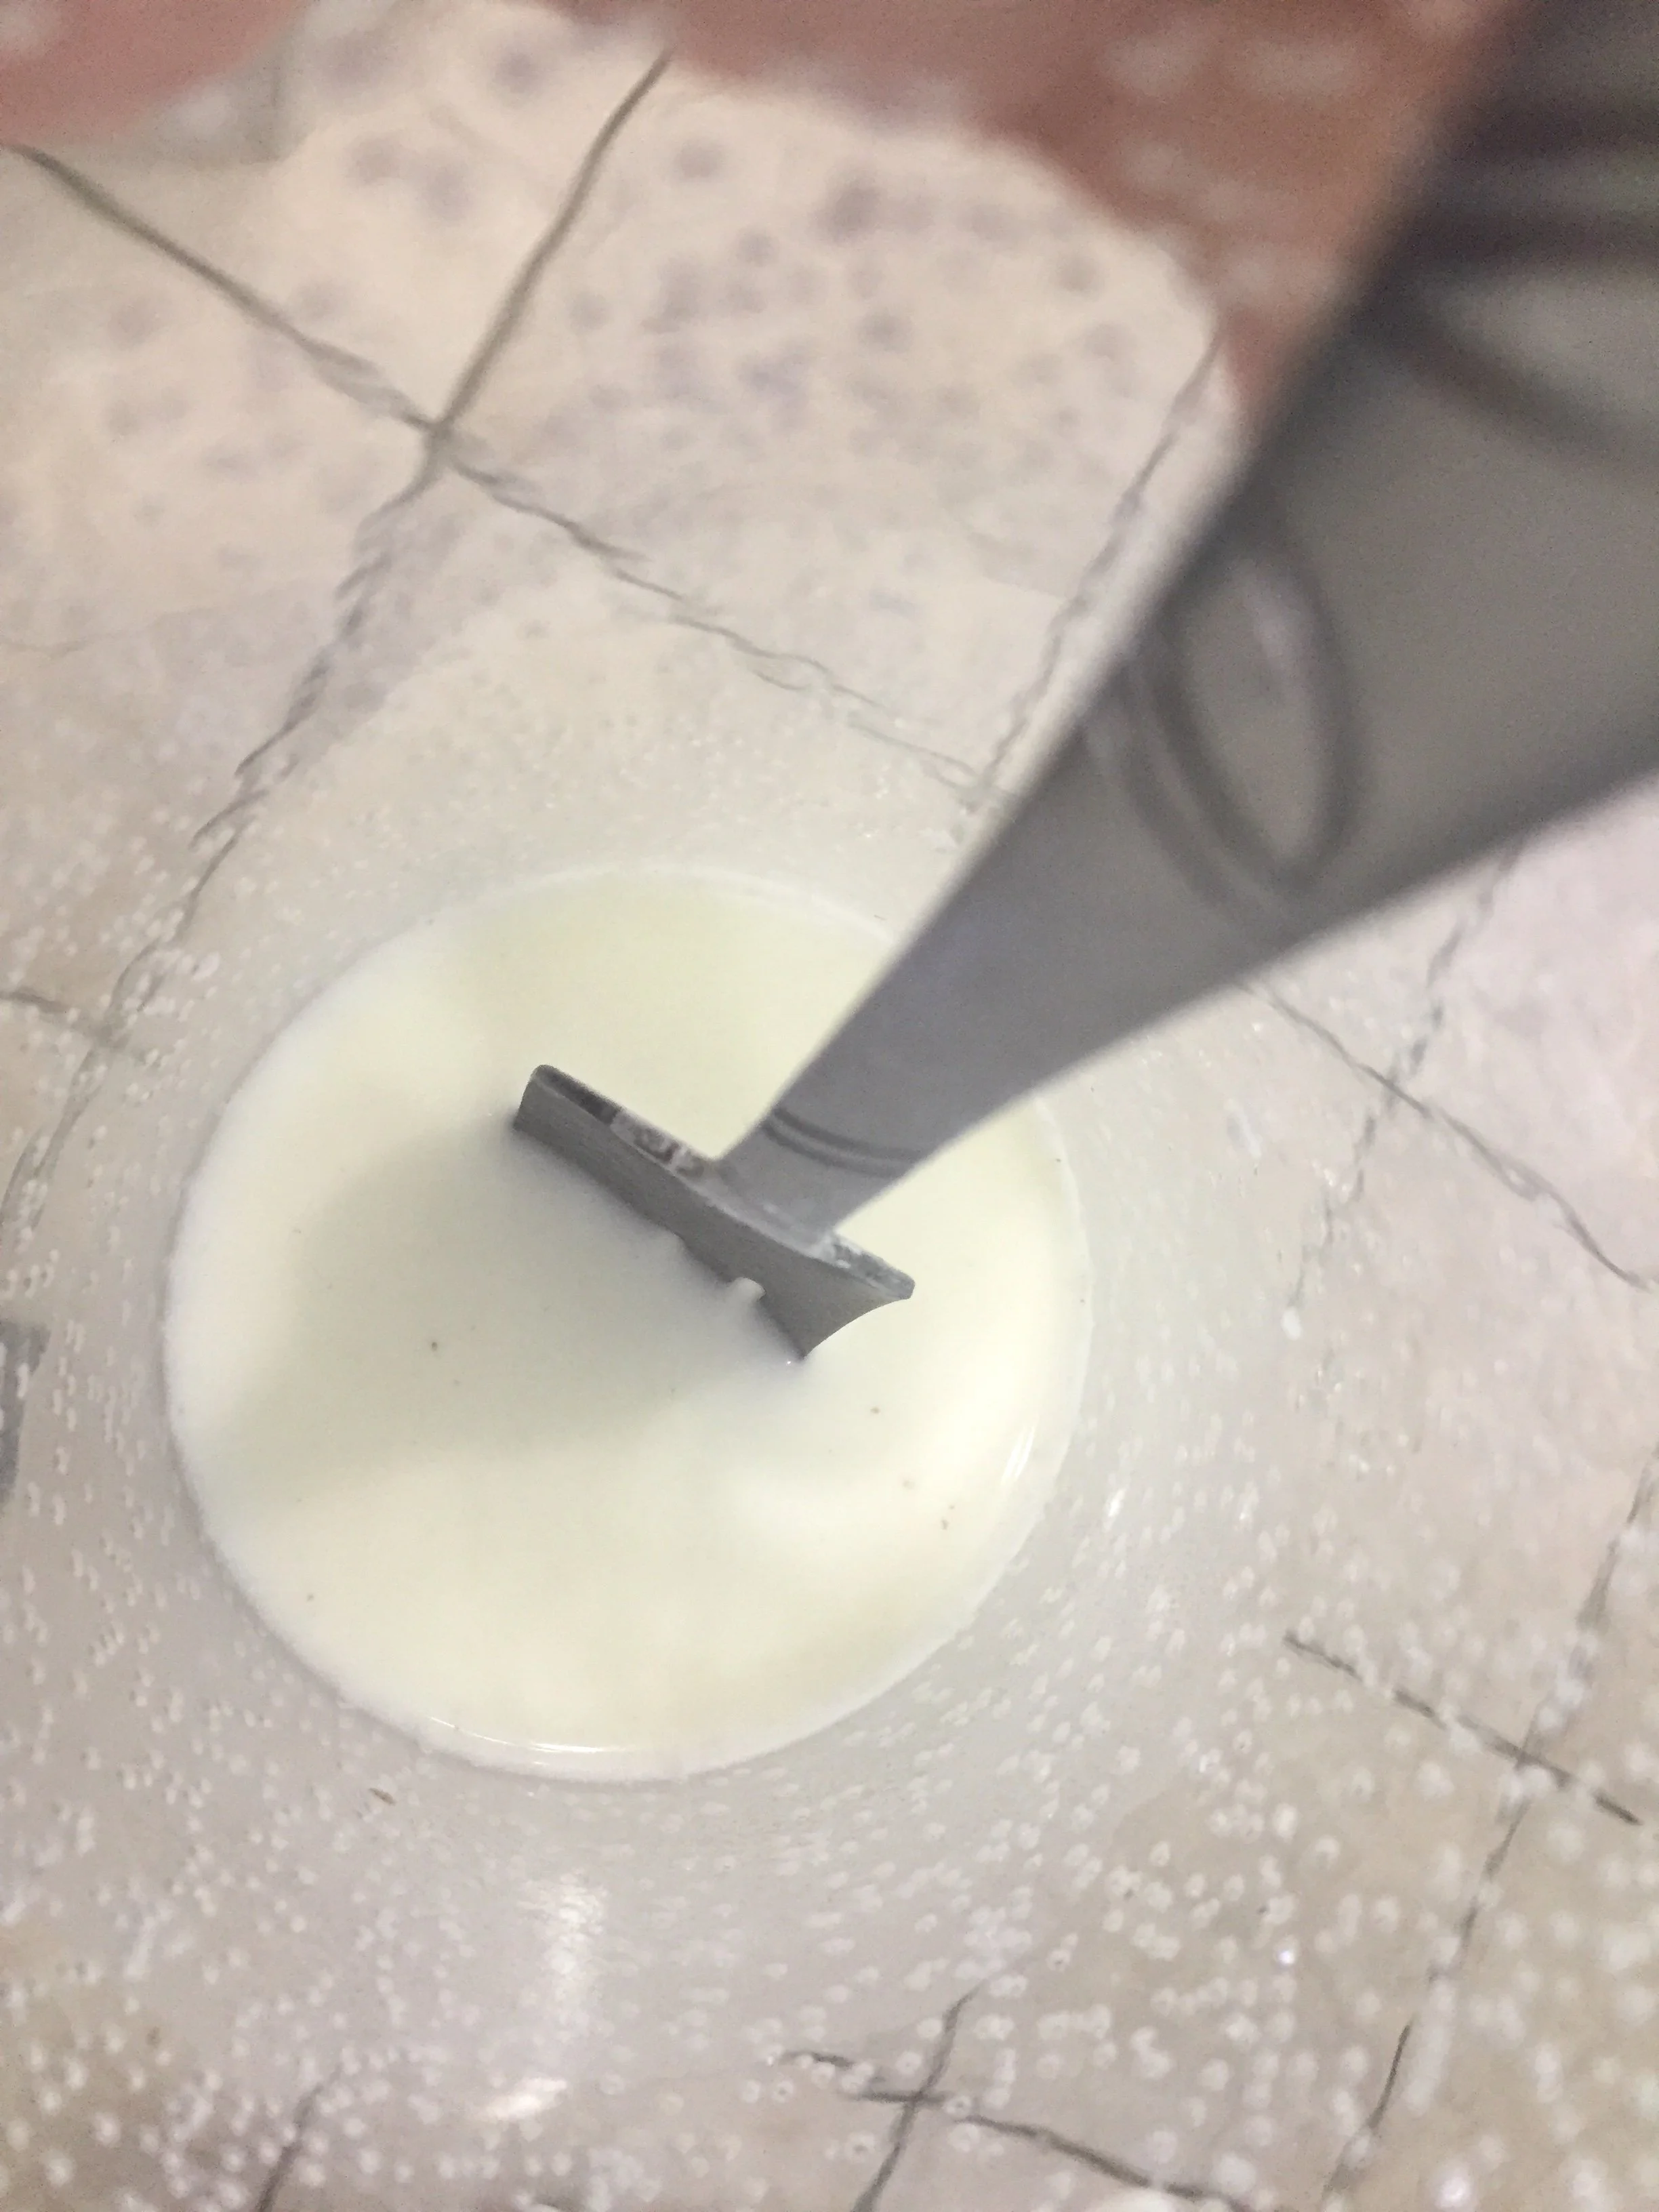
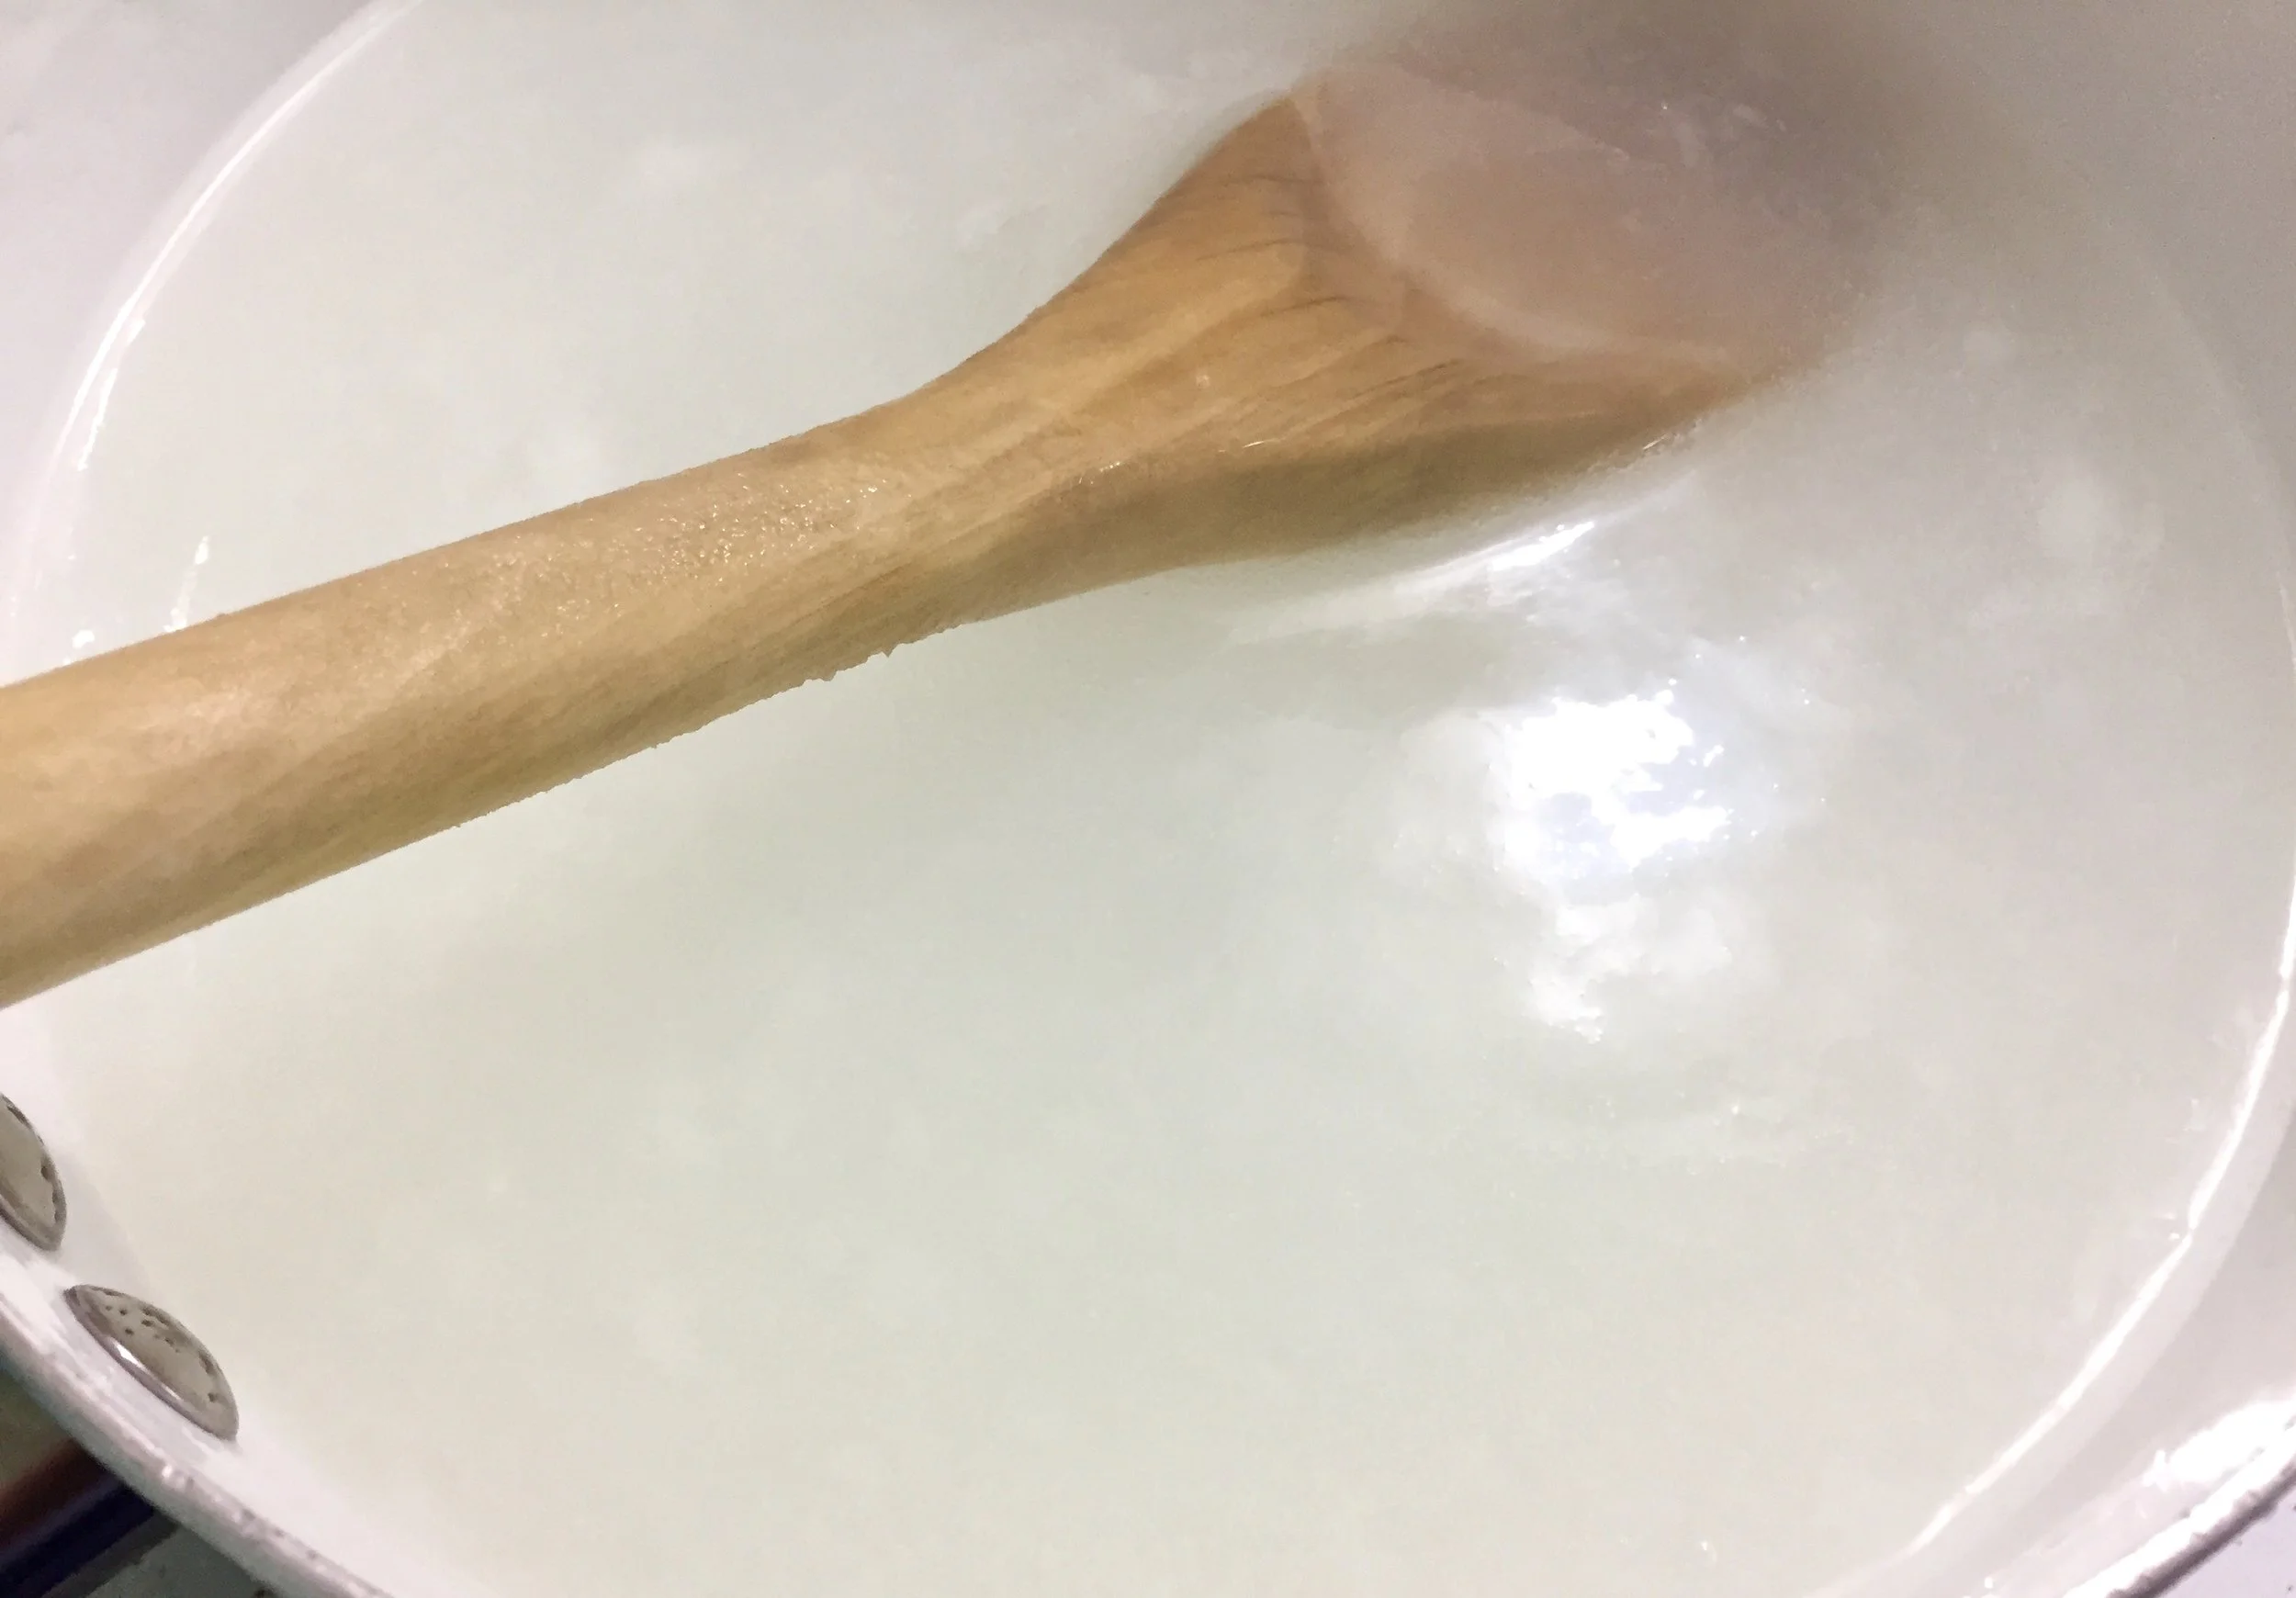
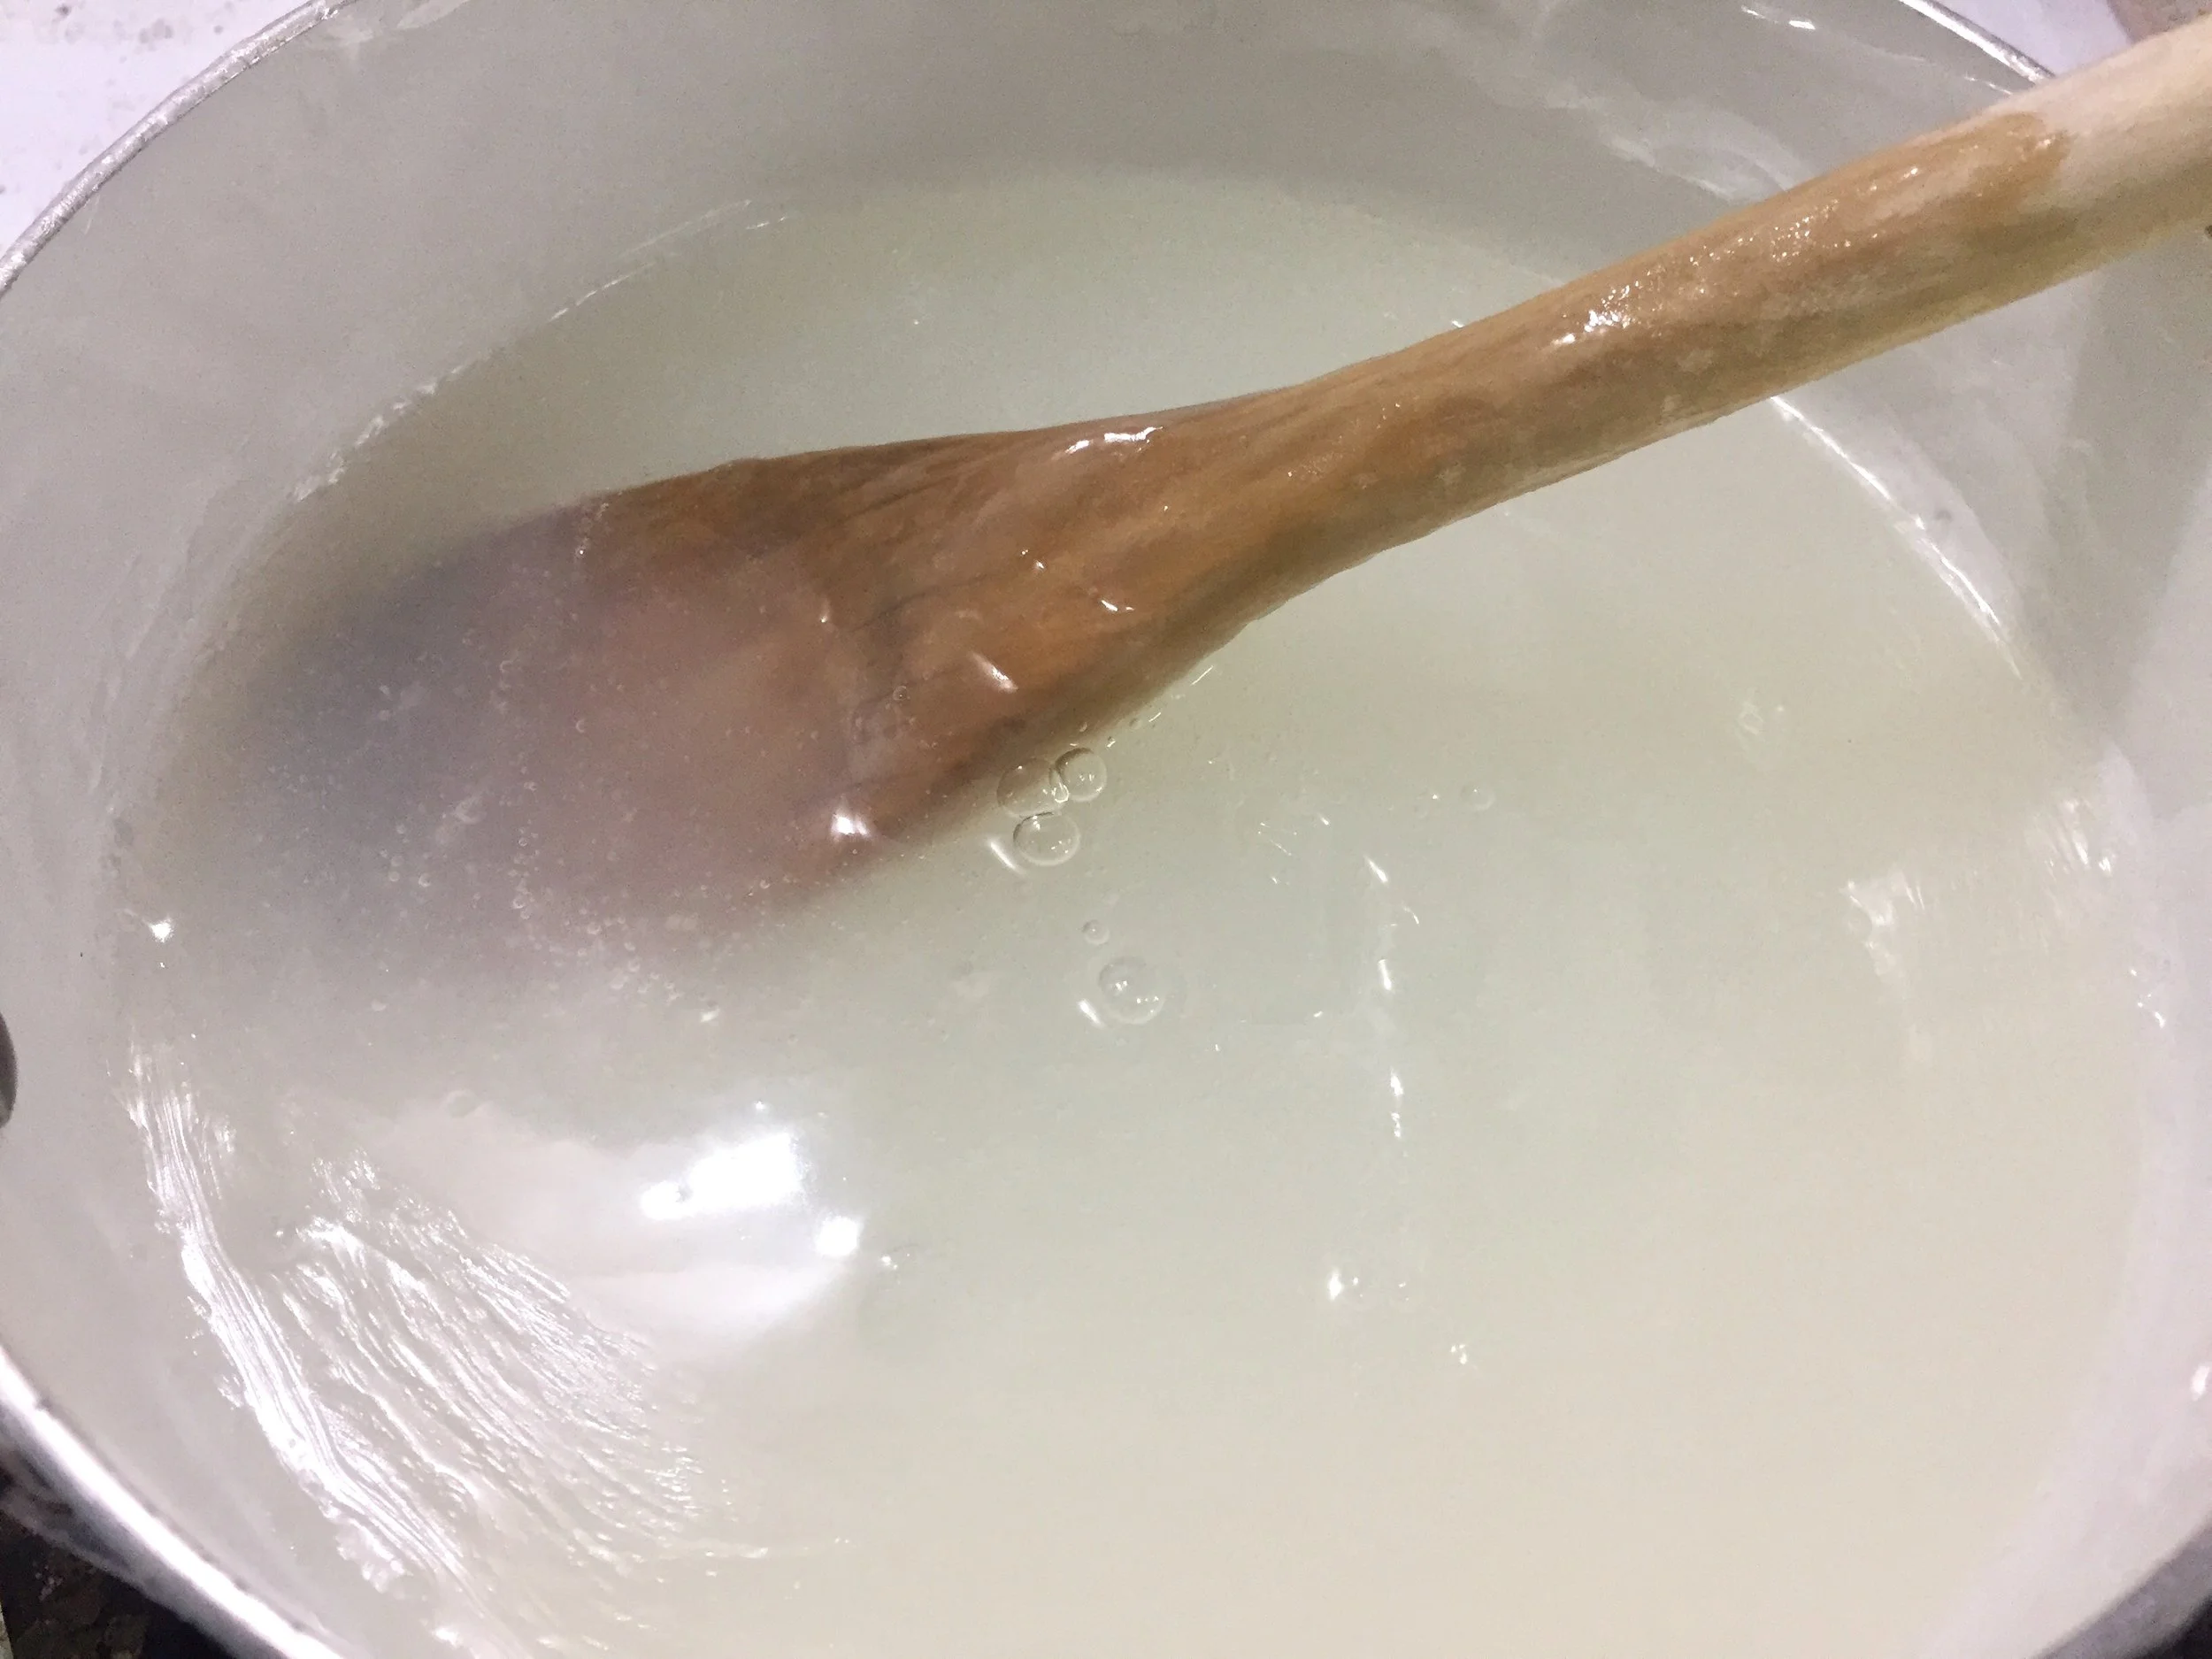
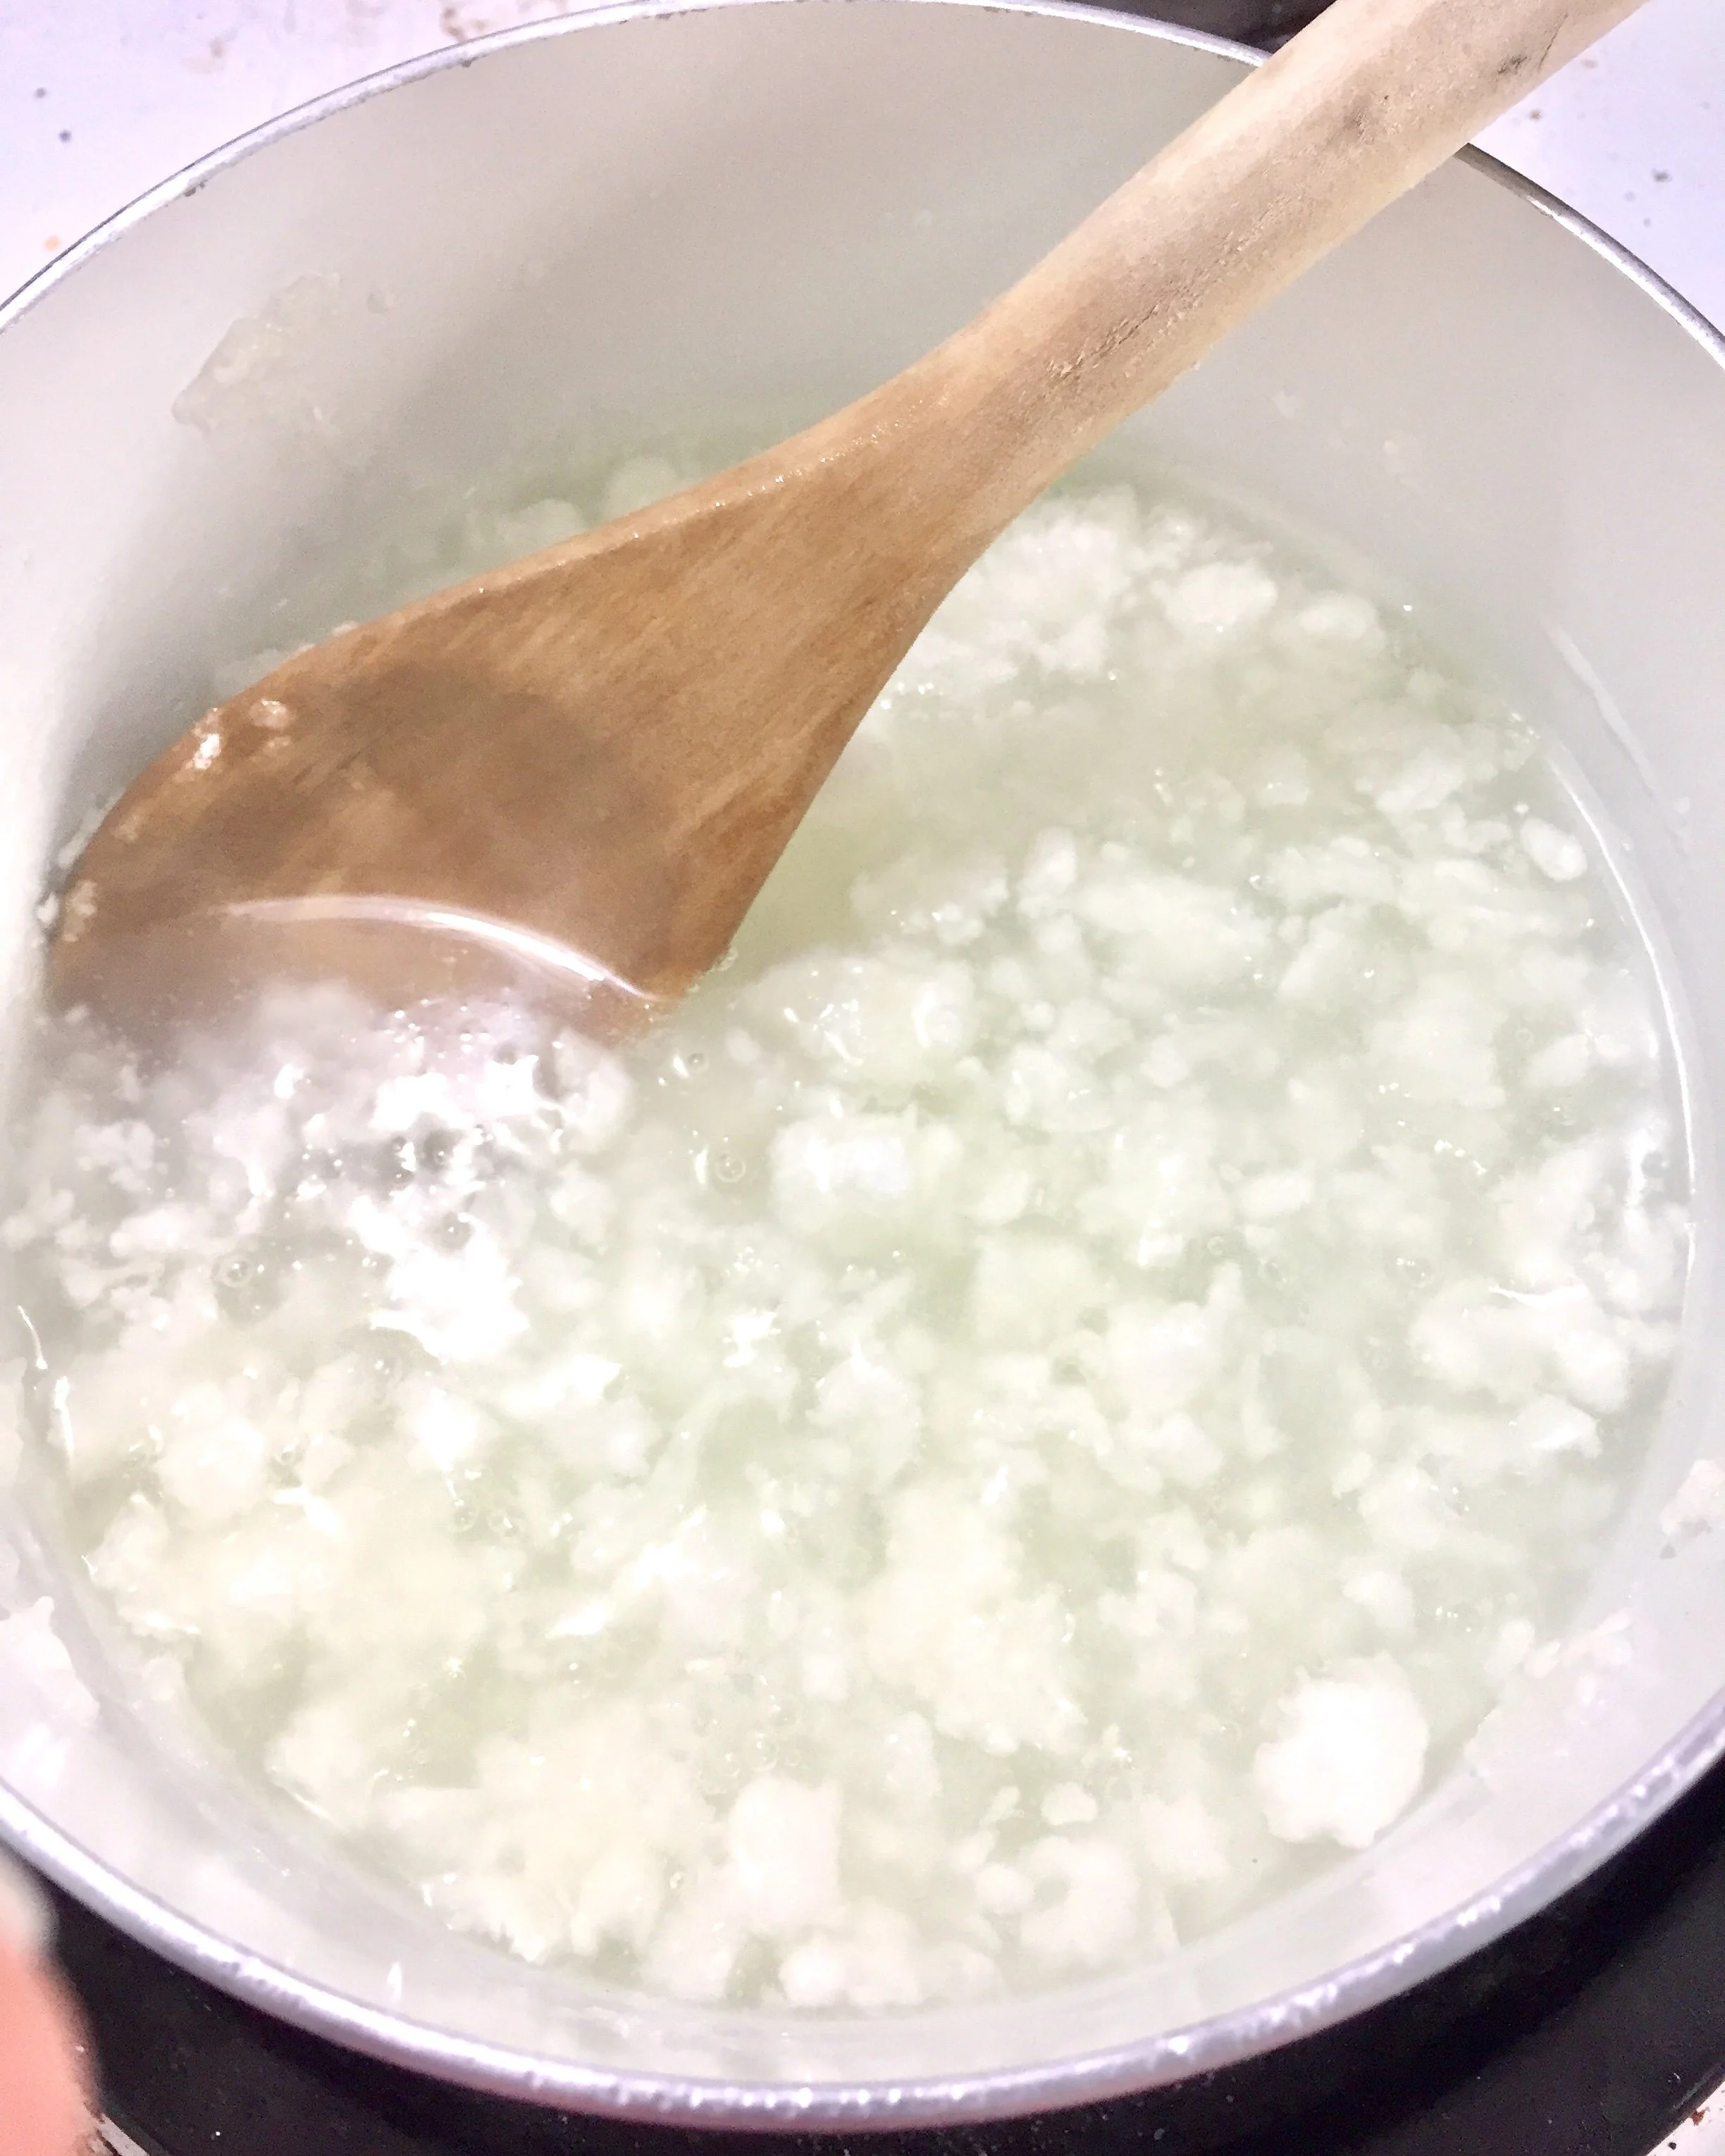
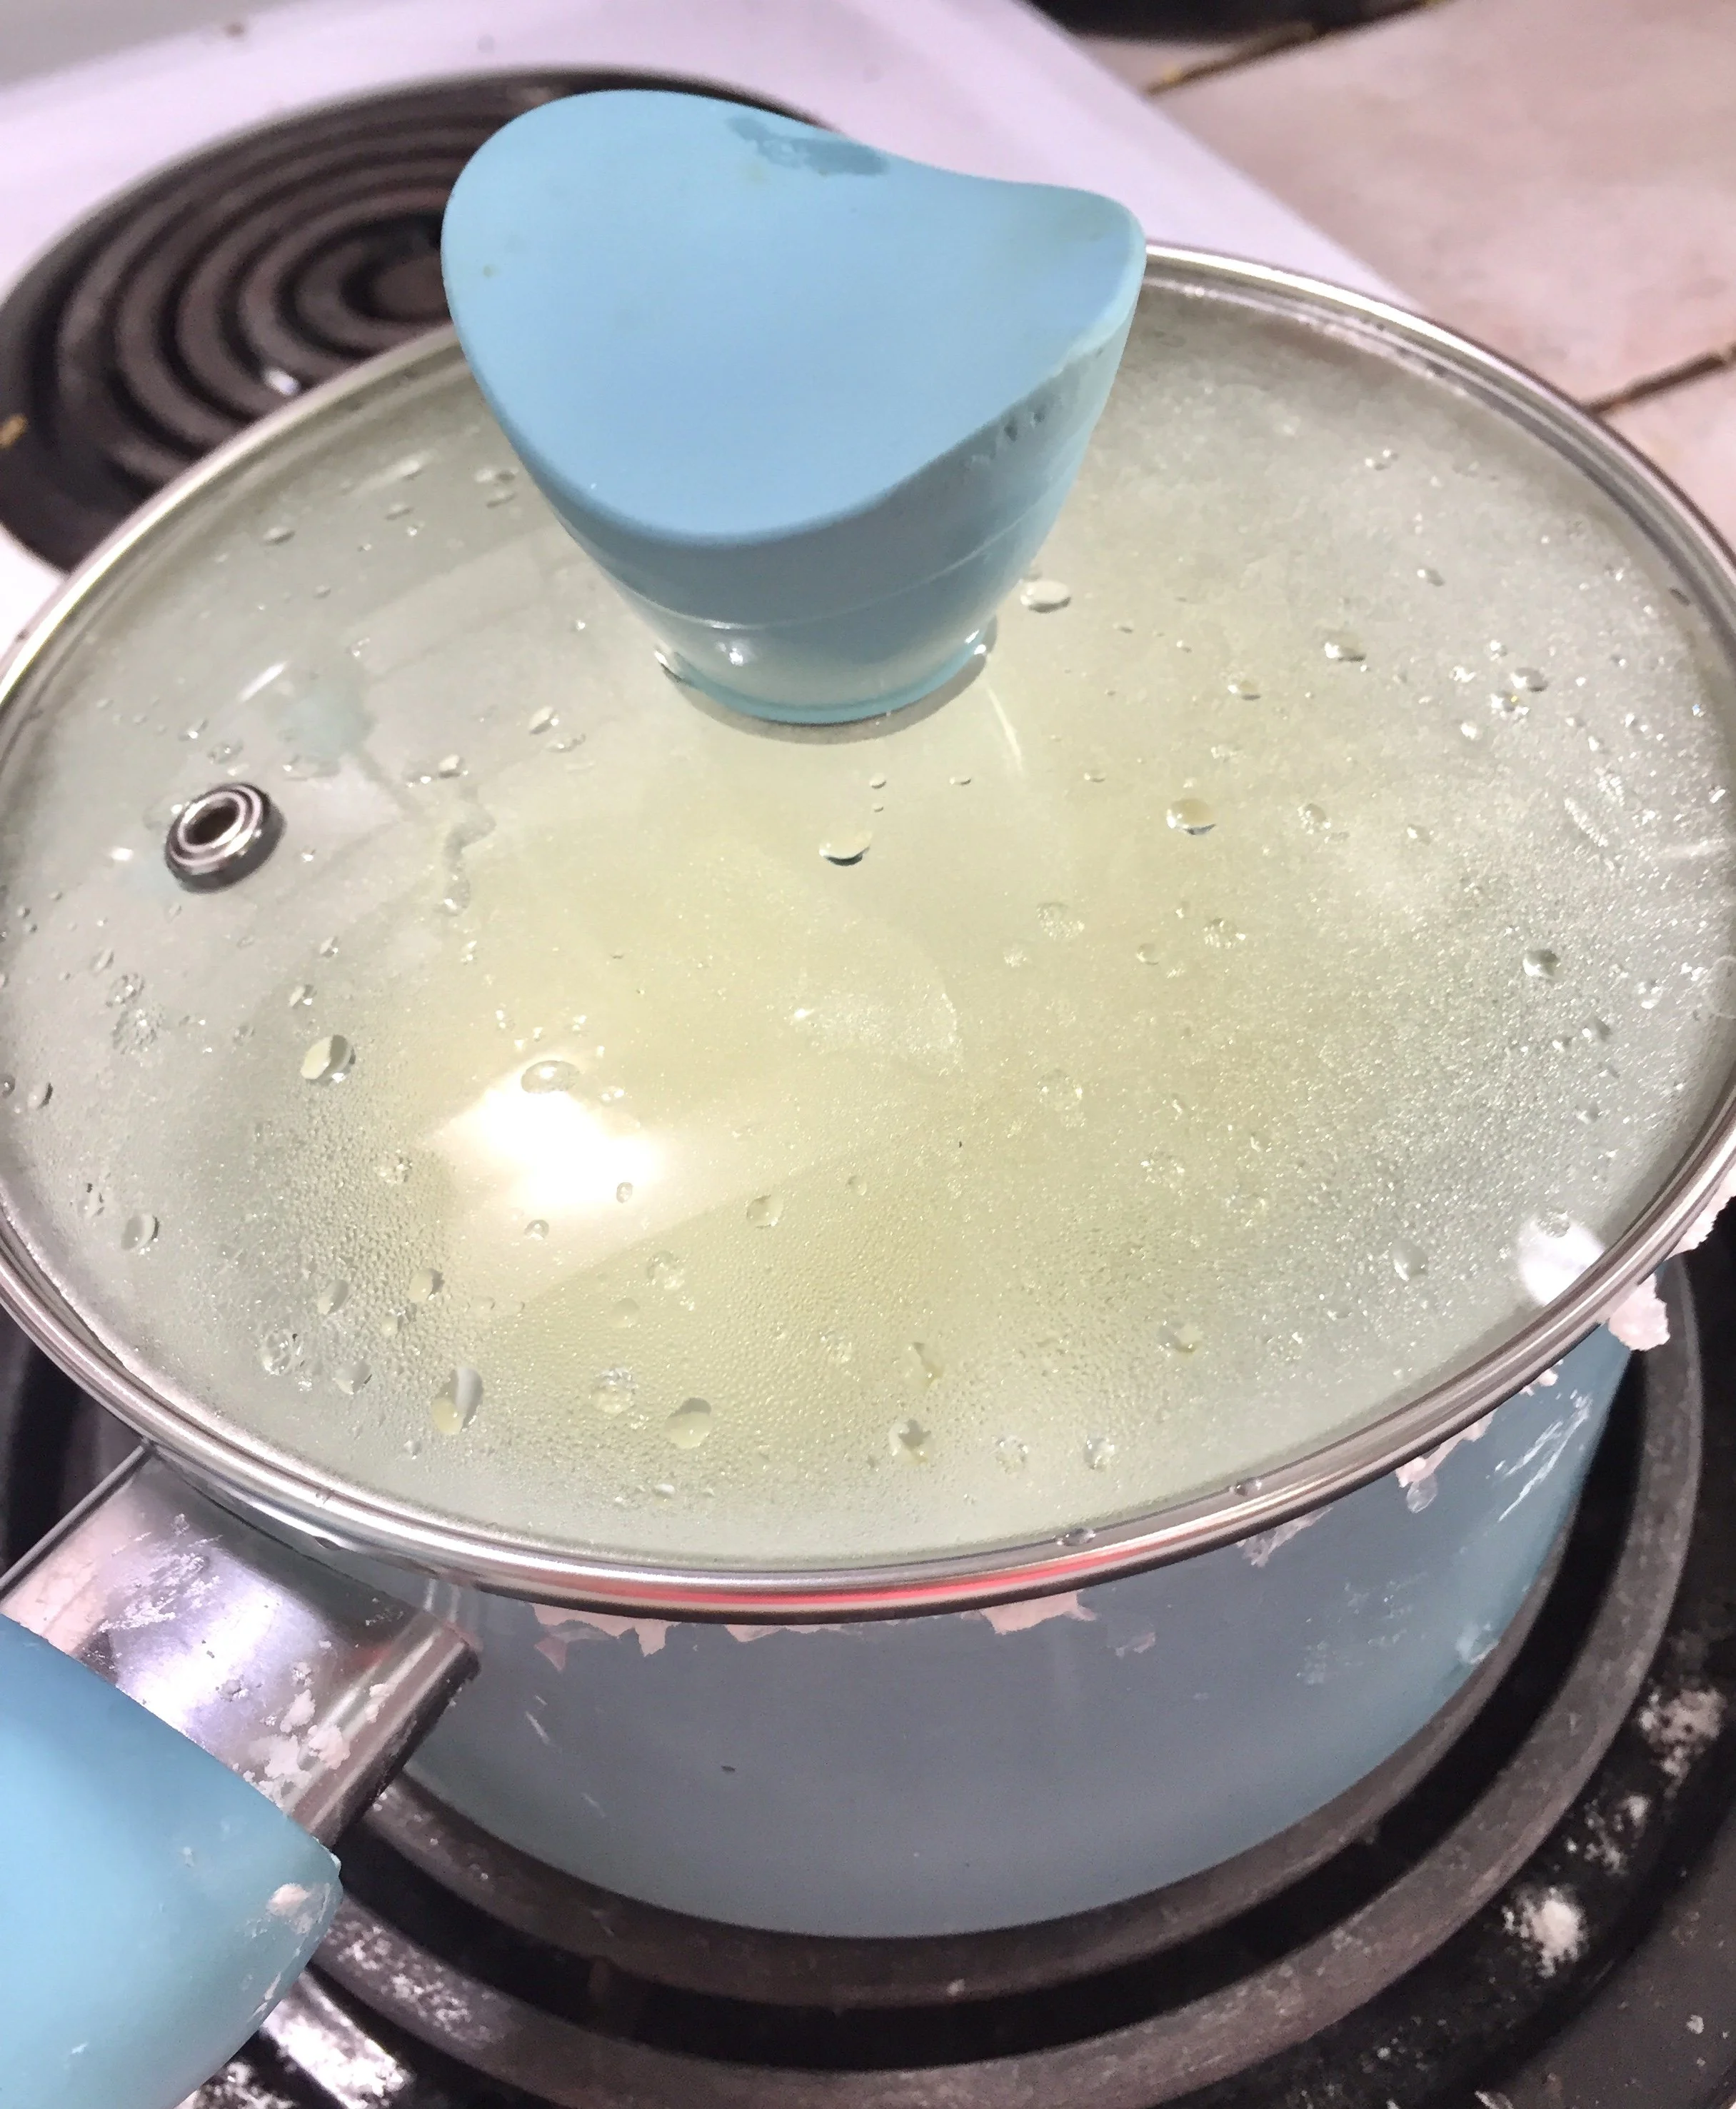
This is a meal Kafunjo makes nearly every morning for breakfast and Bruno says the children at the orphanage are always asking him to buy more sugar because they love sweet porridge. To make Posho porridge, they start boiling their preferred amount of water. While the water is heating up, they mix cornstarch with cold water separately. Once the hot water is boiling, they stir in the combination of cold water and cornstarch. Bruno says if they were to mix the cornstarch with the hot water first (like they do for Posho), it makes the porridge too sticky. Once the porridge is cooked to its desired consistency, they add sugar to taste. To give you an idea of their ideal consistency, while it is a little thick, they usually drink their porridge from cups without a spoon. In case you would like to try cooking Posho porridge, I’ve uploaded pictures below that I sent to Bruno while he was supervising my cooking process over the phone and I’ve included his input along the way. I hope this helps! After sending pictures of my completed porridge to Bruno, he mentioned that it looks like the cornstarch we have in the US is Grade 1 flour. In Kafunjo, Bruno purchases Grade 2 flour because Grade 1 is very expensive. He said the flavor should be very similar, but the color will be a little different compared to the porridge they cook at the Project.
MILLET PORRIDGE
Millet porridge is made the exact same way as Posho porridge - just by using millet flour instead of cornstarch. Below is a photo of millet porridge.
Posho
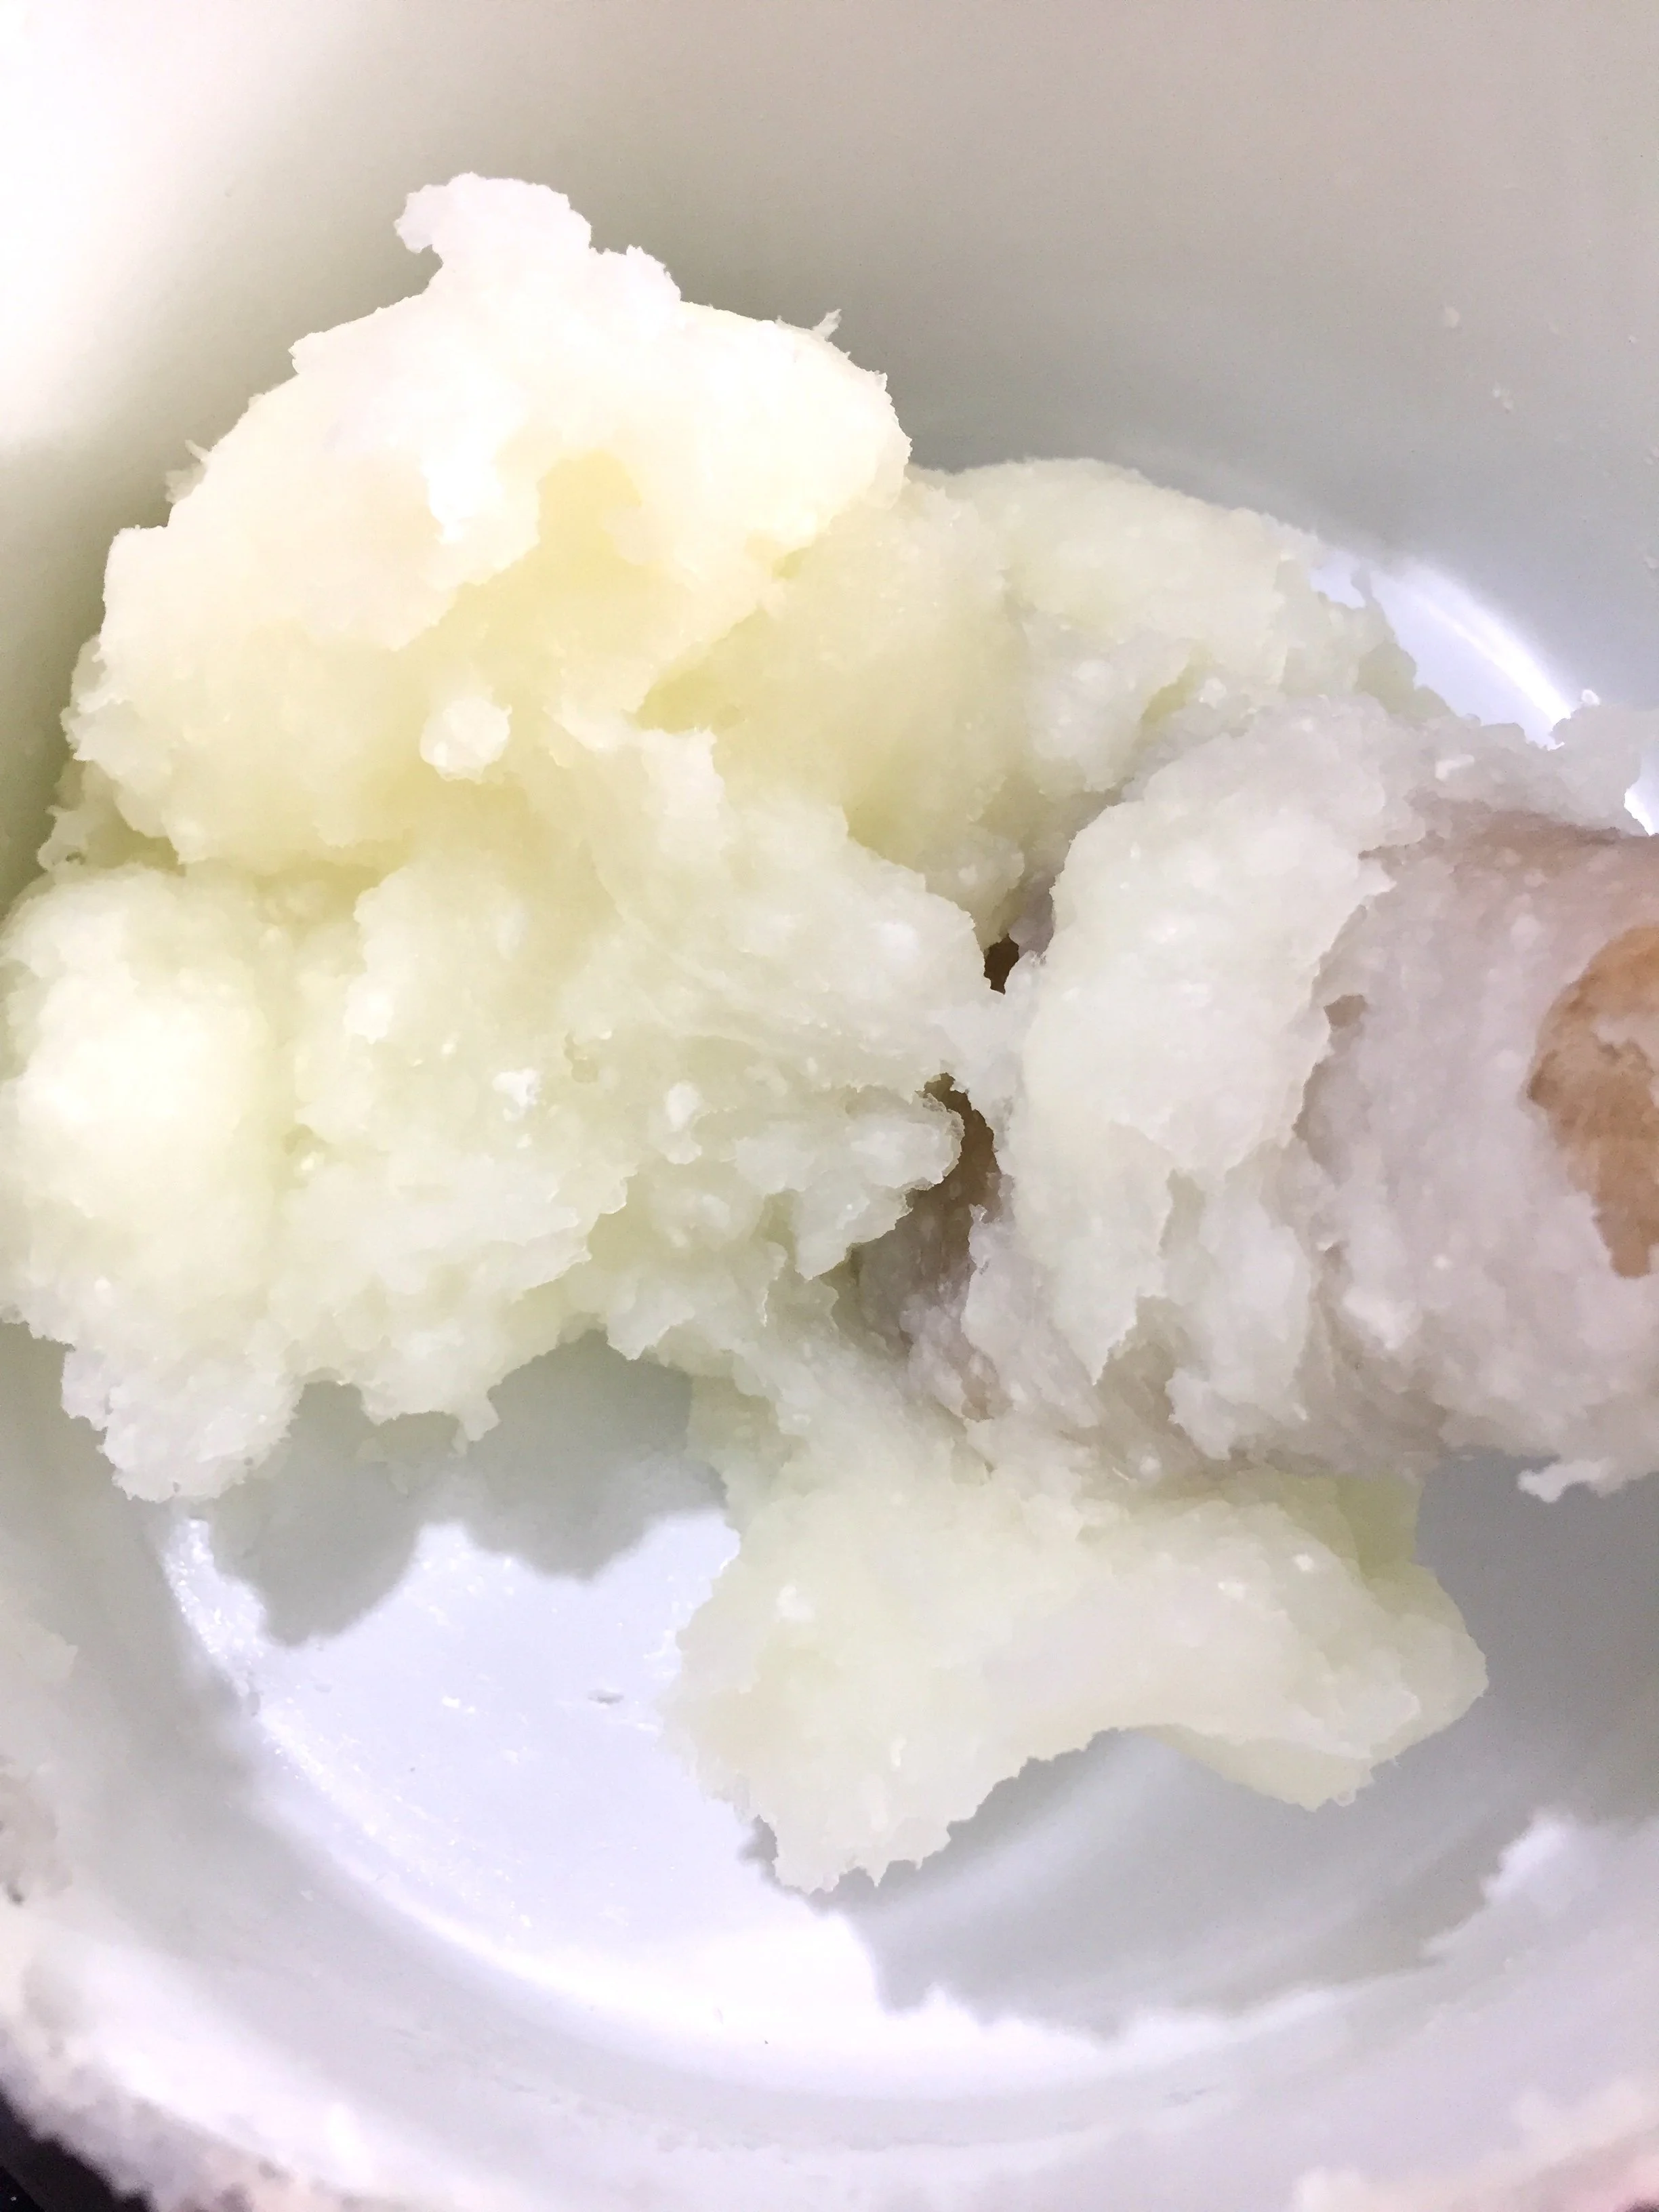
Bruno says that, while they have access to both cornmeal and cornstarch in Uganda, they only ever purchase cornstarch to cook with because cornmeal is very expensive. Posho is the cheapest food you can buy in Uganda and Bruno says if a Ugandan is eating Posho, then you know that person is very poor. To cook Posho, they first boil the desired amount of water. Once boiling, they adjust their fire to a low heat and then slowly start to stir in cornstarch using a big wooden spoon to mash up any lumps that try to form. They use a 1:2 ratio of cornflour to water. They stir the Posho for quite a while until all the flour is mixed very well. It is a lot of work because the Posho is very thick and it is very hard to stir. They use a knife to scrape Posho off the wooden spoon when it sticks too much. Eventually, the Posho will stop sticking to the sides of the pot - at this point they continue to stir just a little longer. Once it is mixed very thoroughly, they then cover the pot with banana leaves and let it sit for a long time. Because they are cooking in such large quantities, they let their large pot of Posho sit over low heat for about 4 hours. Letting it sit makes the Posho taste better according to Bruno. The Posho becomes a little tougher and a little less sticky which allows them to cut out portions using a knife more easily when serving it.
I (Ashley) may be unique in this, but I was surprised by how hard Posho was to cook. I learned from Bruno as many details about the process as I could and I quickly discovered that, when I felt like I was doing something wrong, that usually meant things were actually going great. Again, I’ve uploaded pictures of my cooking experience below!
Beans
Beans are the Project’s primary source of protein. Bruno isn’t sure of the American name for the type of beans they cook. In Uganda, they are just called “red beans”- even though they come in a mix of various different colors. Many Ugandan recipes online just call for pinto beans, so that is what I usually make when cooking a Ugandan meal. Prior to cooking, they place their beans in flat baskets and toss them into the air several times to remove dust and dirt. Then they sort through them by hand very carefully to remove any remaining rocks or bad beans. Next, they rinse the beans and add them to a pot with water and boil them. As the beans are cooking, more water is added to the pot as needed to make bean soup. When they are almost fully cooked, salt is added for flavor. Once cooled down, the beans are served to the children with some of the bean soup from the pot.
Matooke
Matooke is known as the national dish of Uganda and would typically be eaten at most meal times. However, ever since Covid hit Uganda, the Project and most villagers are lucky if they can just afford Posho and beans. Matooke (commonly referred to as “cooking bananas”) are usually eaten with some combination of beans, ground peanuts, egg plants, and/or other vegetables. The bananas they cook with are not sweet. They are most similar to Plantains, however, they are not as easily peeled. While they are still green, each end is cut off and then the length of the skin is slit in order to peel them. The most common methods of cooking Matooke are boiling and steaming and Matooke is ready when the flesh turns yellow and they are soft enough to eat - similar to the softness of a baked potato.
Below are the two most common ways to prepare Matooke at the Project:
1) Place peeled Matooke in a pot, add water, cover the pot with banana leaves, and boil. Once Matooke is cooked, strain the water and mash the bananas. Then serve these with beans, bean soup, and eggplants or other vegetables.
2) Place peeled Matooke in a pot, add water, cover the pot with banana leaves, and boil. Once Matooke is cooked, strain the water but don’t mash or slice bananas. Serve bananas whole with chopped and cooked tomatoes, onions, and green peppers.

